Repair Mini Split Control Board
June 7, 2024
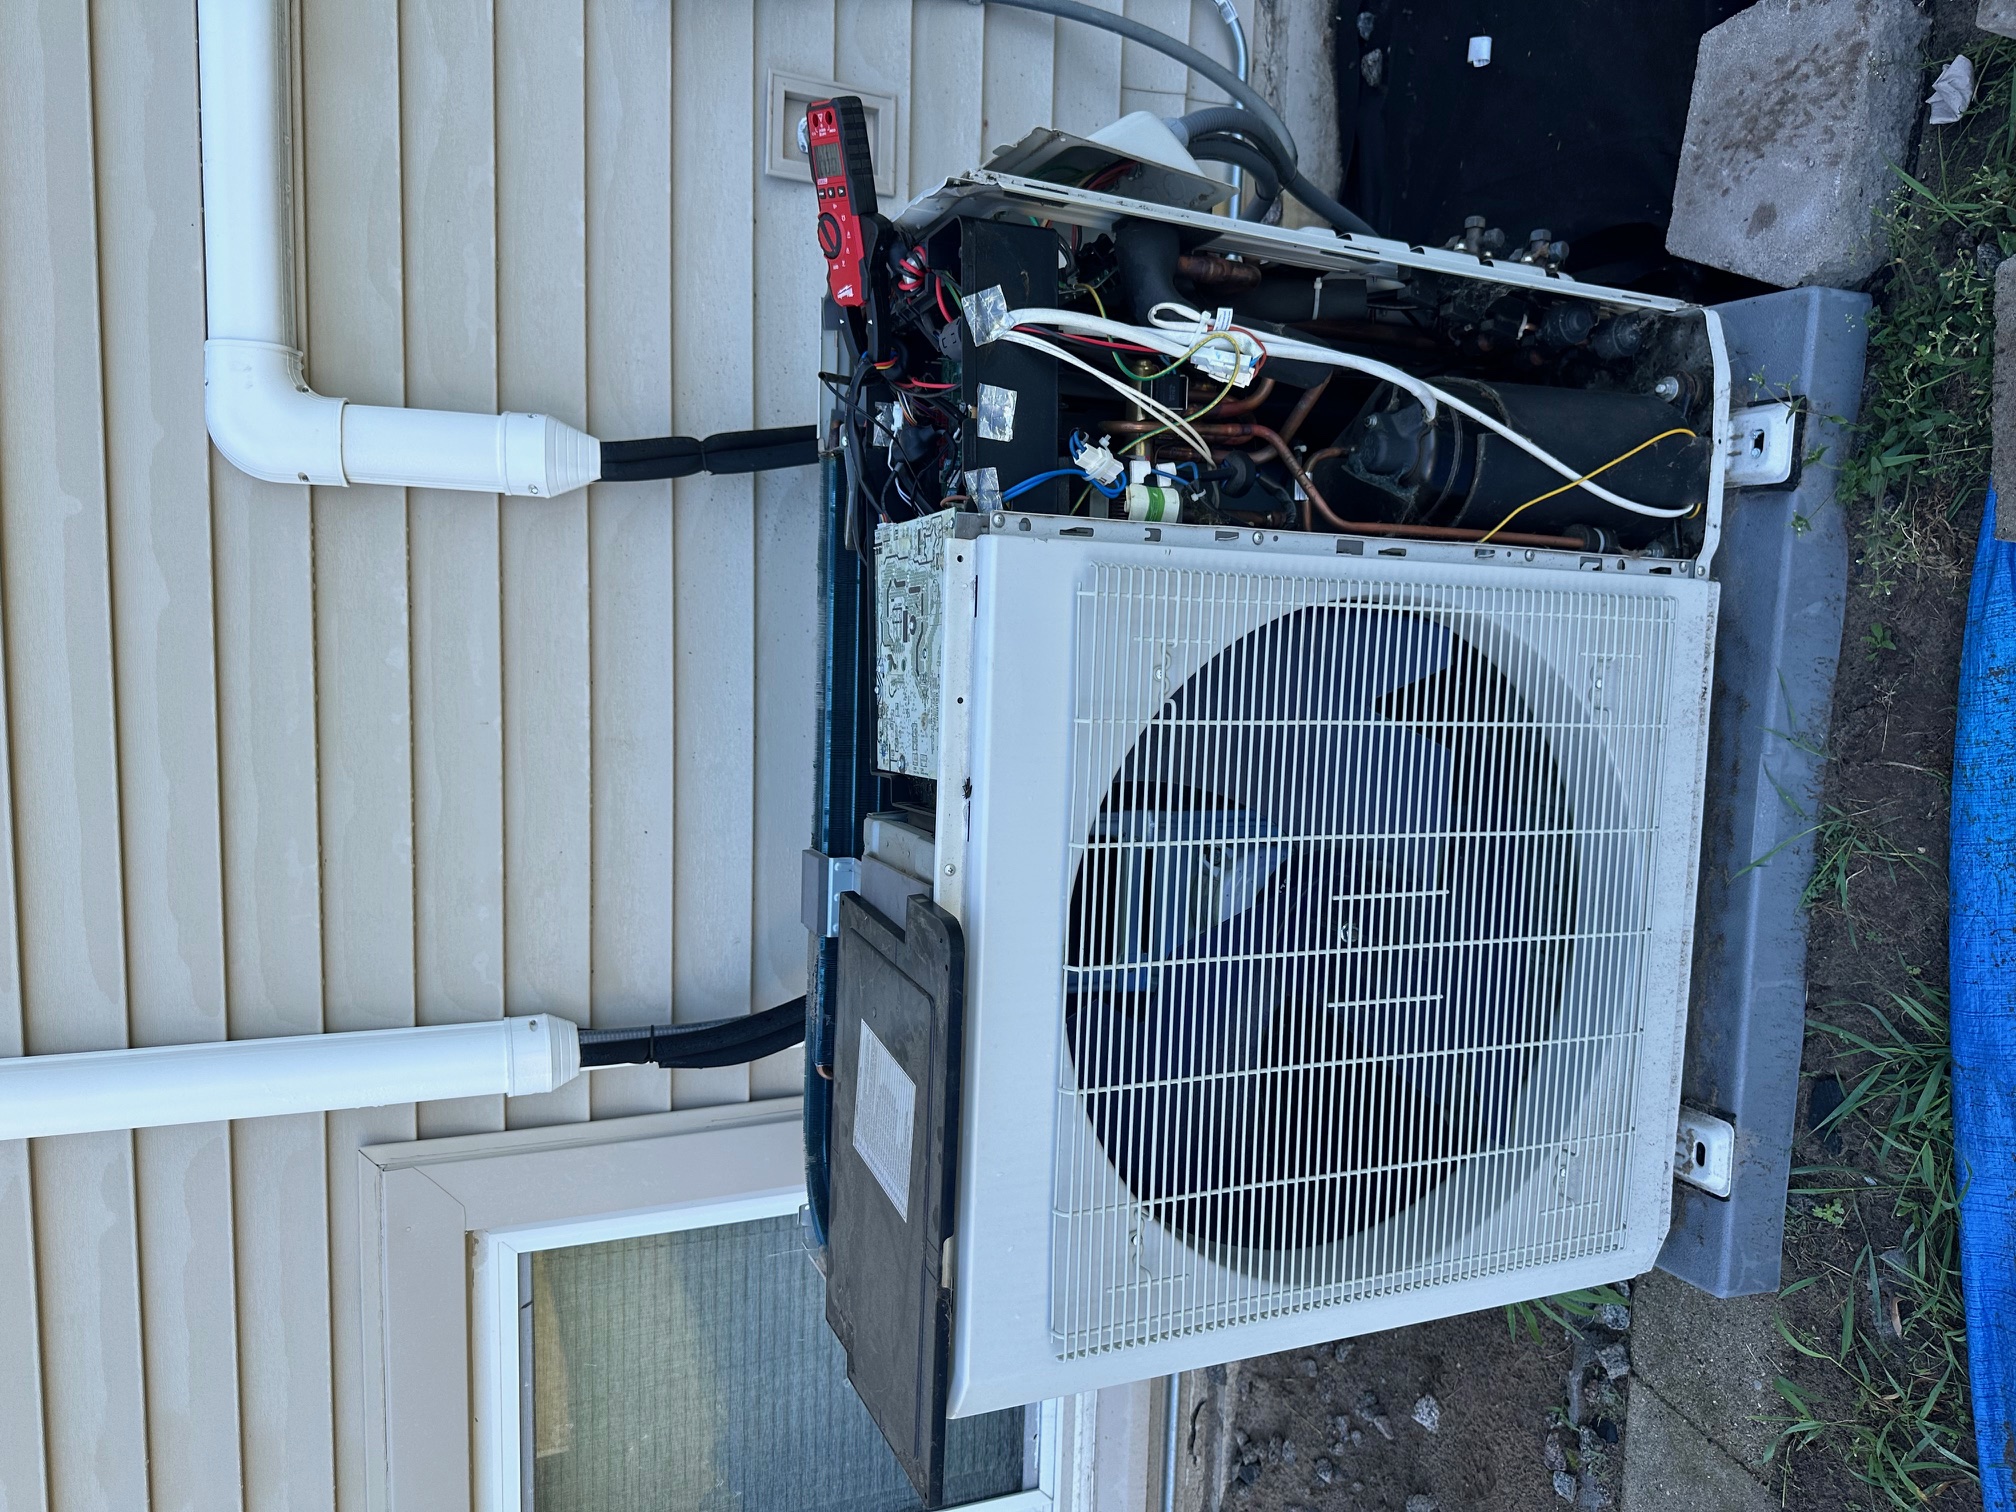
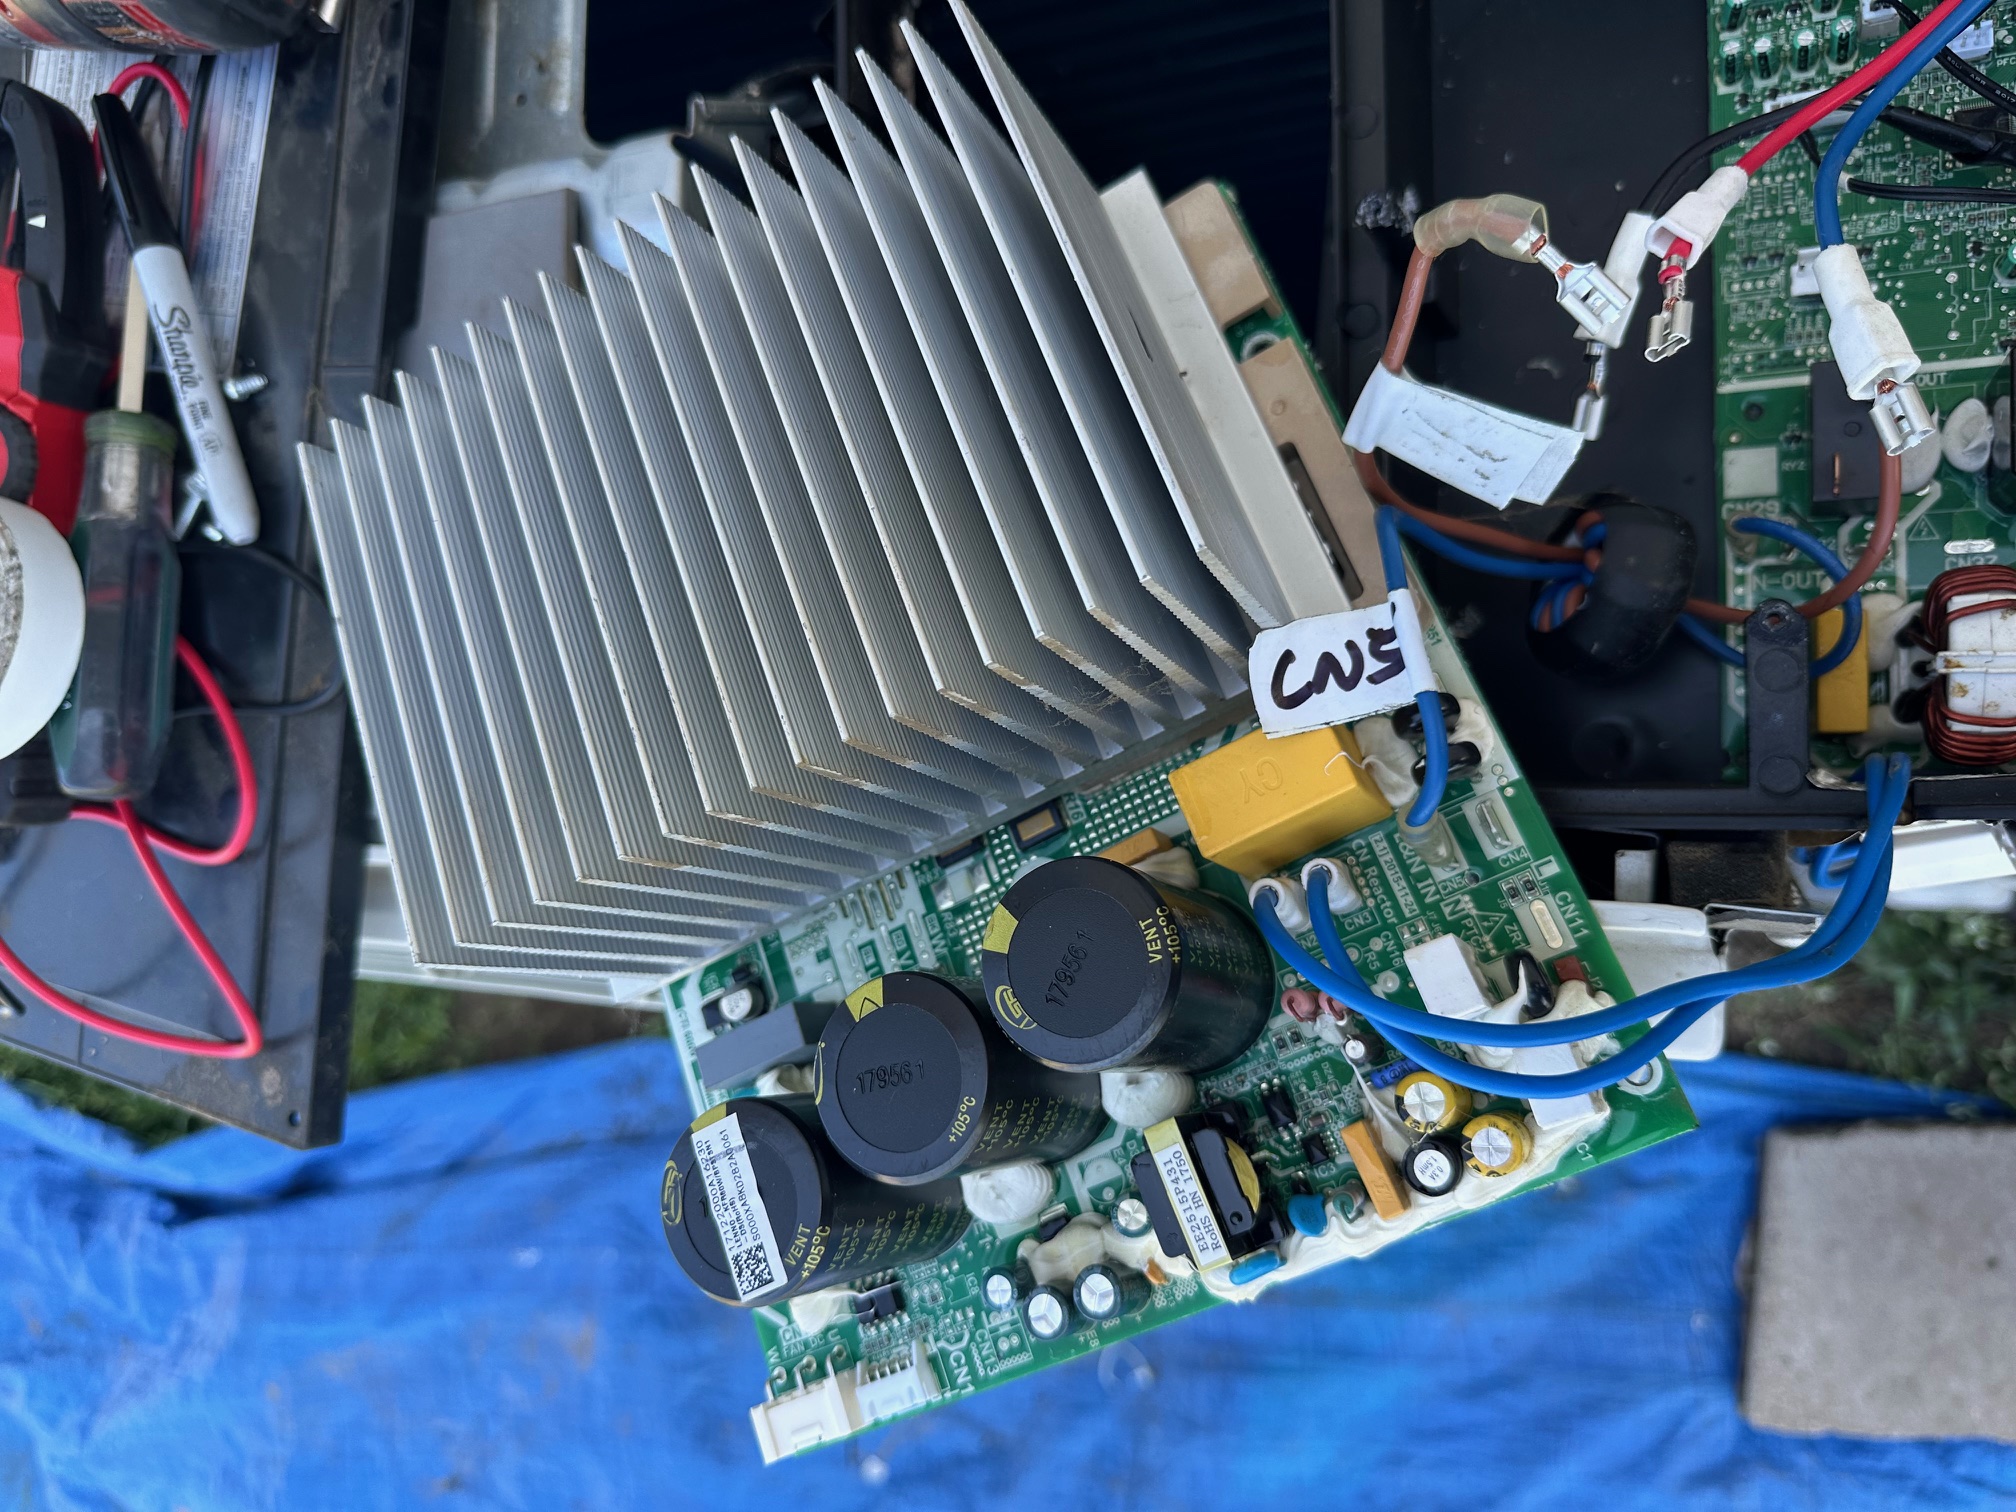
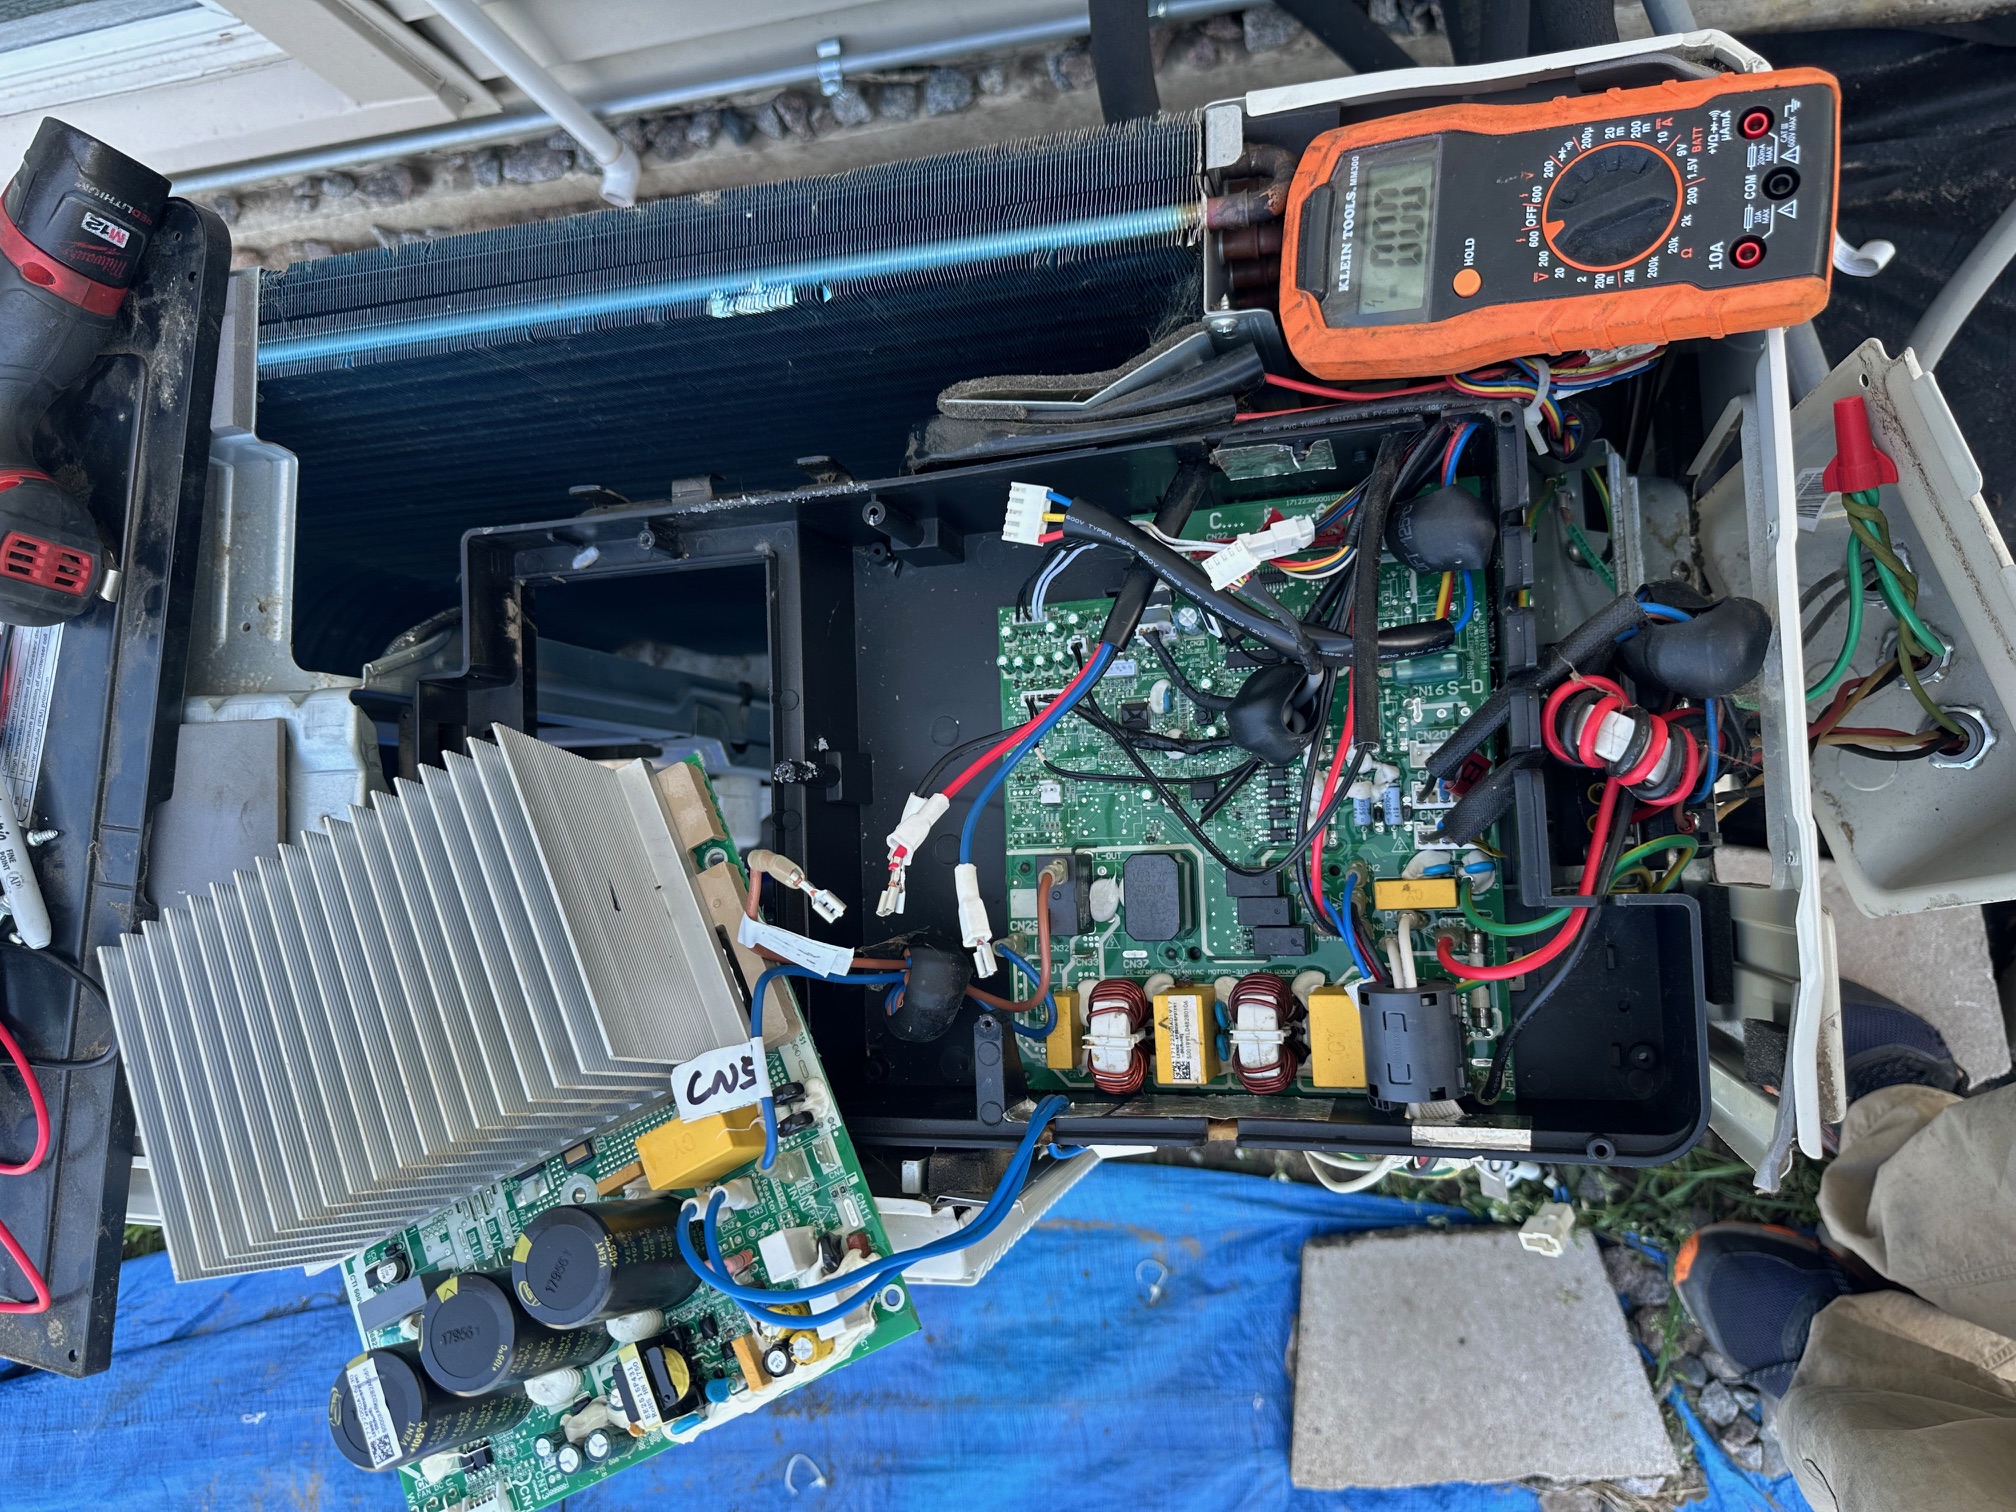
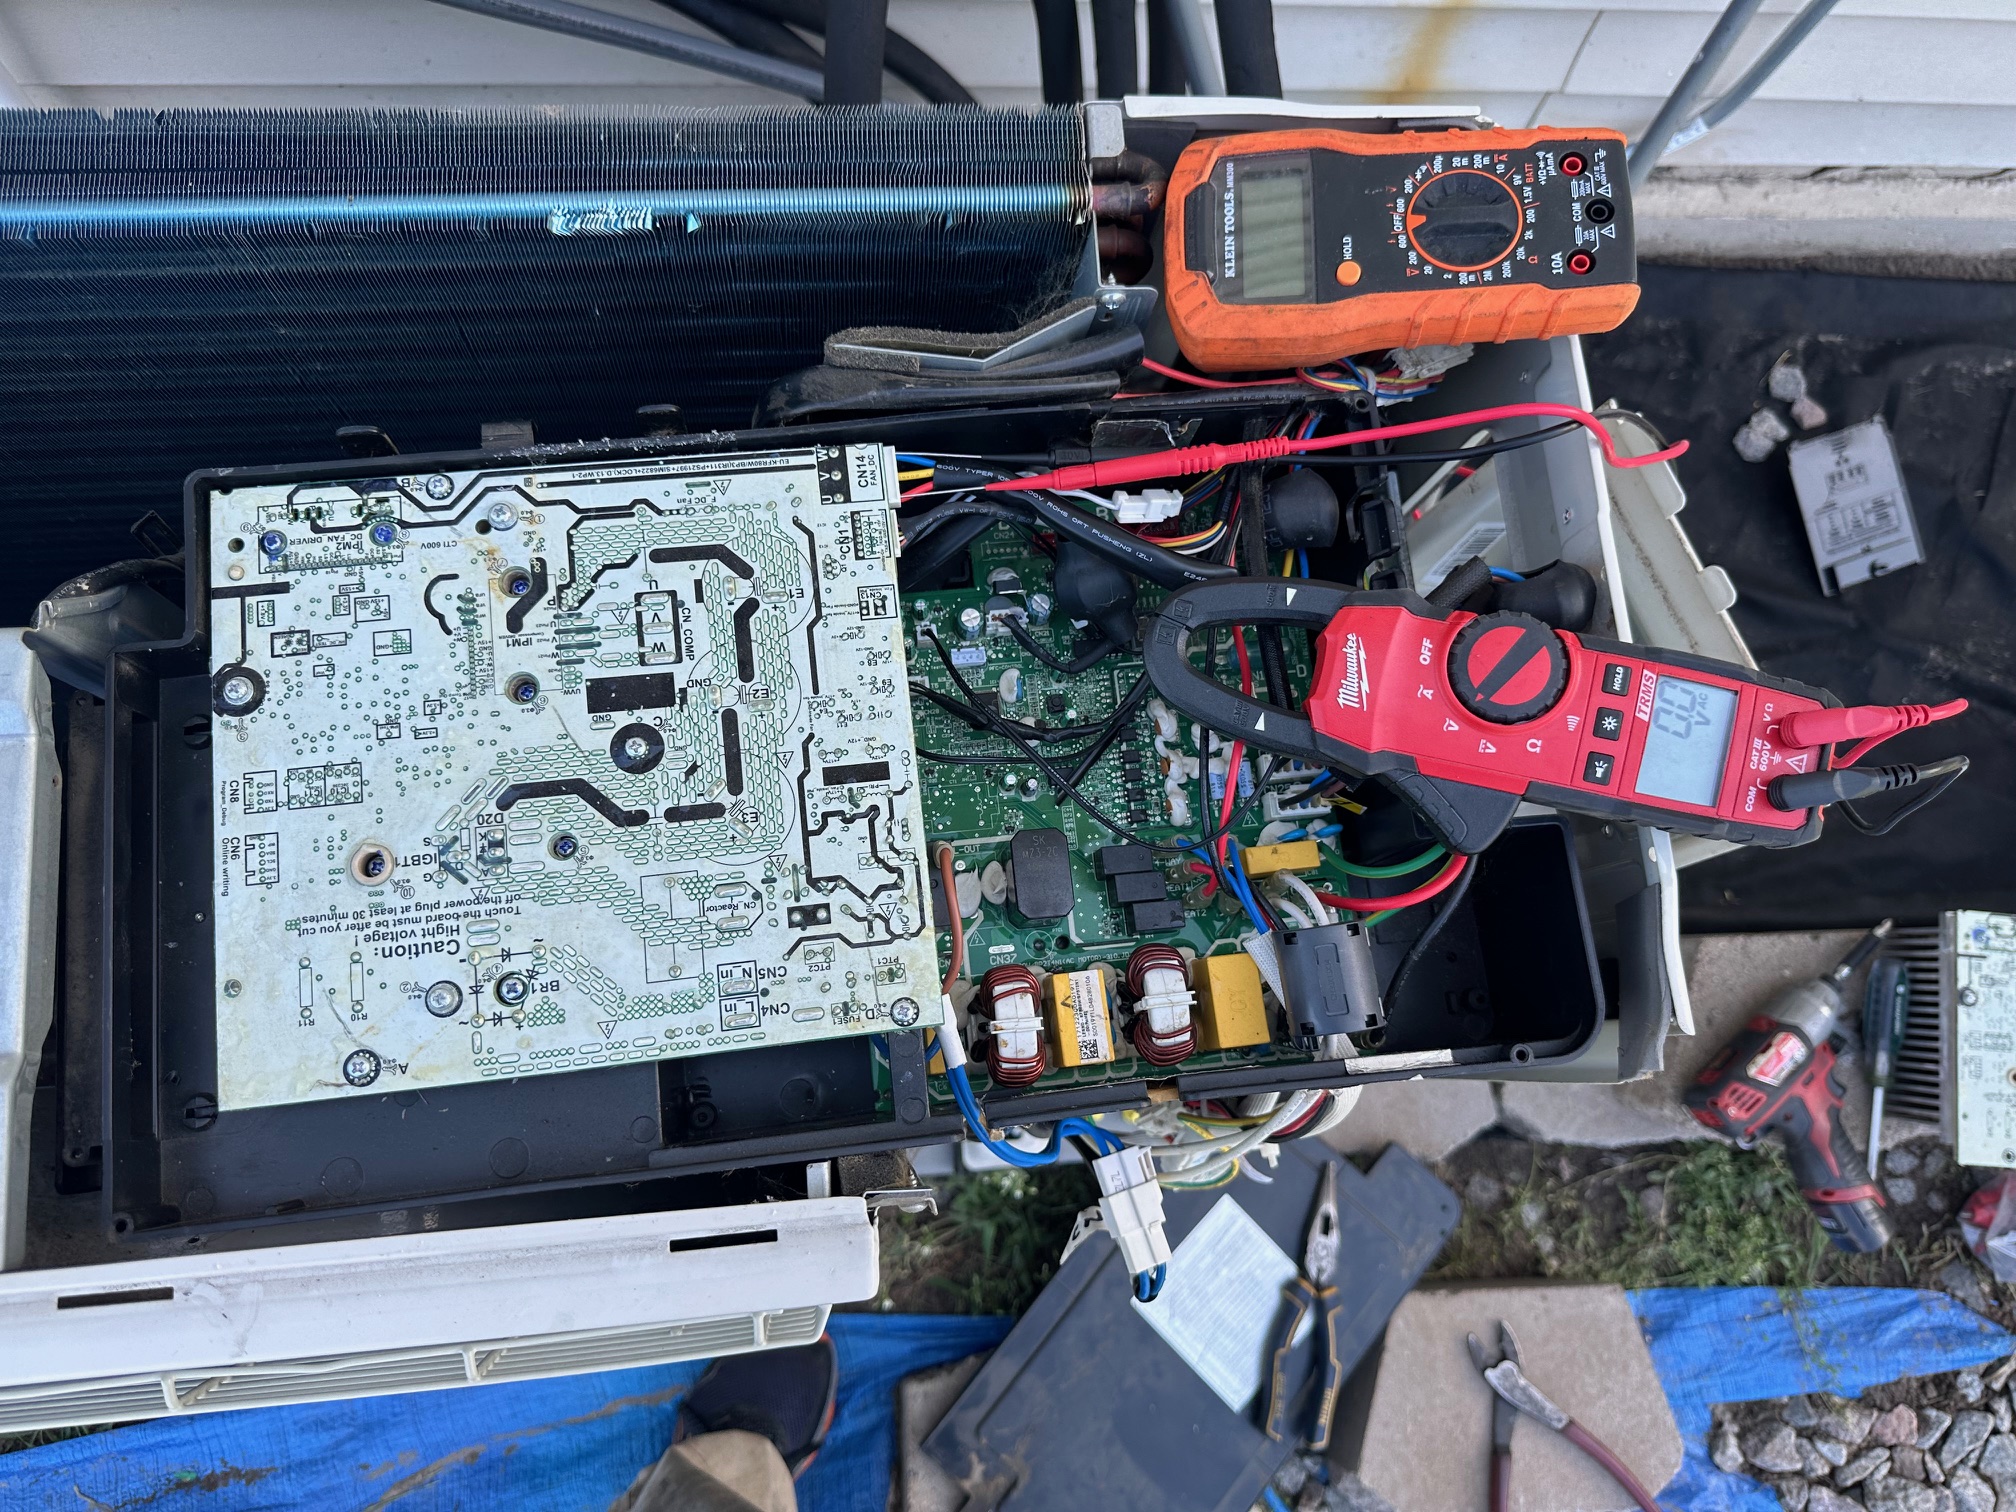
Disconnect the power at the breaker box and unplug the unit if possible. Use a voltage tester or multimeter to confirm that the unit is de-energized. Remove the cover of the indoor unit to access the control board. This typically involves removing screws and possibly some clips. Label the wires Before disconnecting any wires, take clear photos of the existing setup. Documenting the connections will help ensure accurate reassembly. Disconnect all wires and connectors attached to the old control board. Use needle-nose pliers if needed to gently disconnect any tight connectors.
Remove any screws or mounting hardware securing the control board in place.
Take out the old control board from its housing. Attach the new control board into the housing using the appropriate screws or mounting hardware. Reconnect all wires and connectors to the new control board, referring to the photos or labels you created earlier. Ensure all connections are secure and correctly placed. Loose or incorrect connections can cause malfunctions or damage. Replace the cover of the indoor unit, ensuring it is properly aligned and secured with screws.
Make sure any clips or fasteners are properly engaged. Reconnect the power at the breaker box and plug in the unit if necessary.
Turn on the mini-split system and test its functionality. Check for proper operation, including heating, cooling, and any other features specific to your system.
Monitor the system for a while to ensure there are no error codes or malfunctions.
Budget: 972
Location: Little Canada, MN
Project Image Gallery
Products Used
Comfort AirGET COMFORTABLE WITH OUR HVAC SPECIALISTS IN ST. PAUL.